


10 Tips For Taking a Good Self-Portrait.
With your Phone Camera

I’m not really into ‘selfies’, but I do think photos of yourself are important. What’s the difference?.. I think, for me, it’s the intention behind why you’re taking the photo. Is it to show you have great lips or a nice bum (cool if that’s your thing, it isn’t mine).
For most of us (including myself), portraits of oneself are most needed for work. So many online spaces require a headshot, so why not make it the best version you can?
Creating self-portraits with your phone involves a mix of technique and creativity. Half the battle of capturing a nice photo of oneself is getting past the fact that you don’t want to take the photo… so you rush the job (or crop yourself out of an old wedding photo) and then feel yuck about it. With 20 minutes of learning and another hour of shooting, you’ll be surprised how much better the results can be.
Here are ten tips to elevate your self-portrait game, from lighting to composition and expression.
Setup stage:
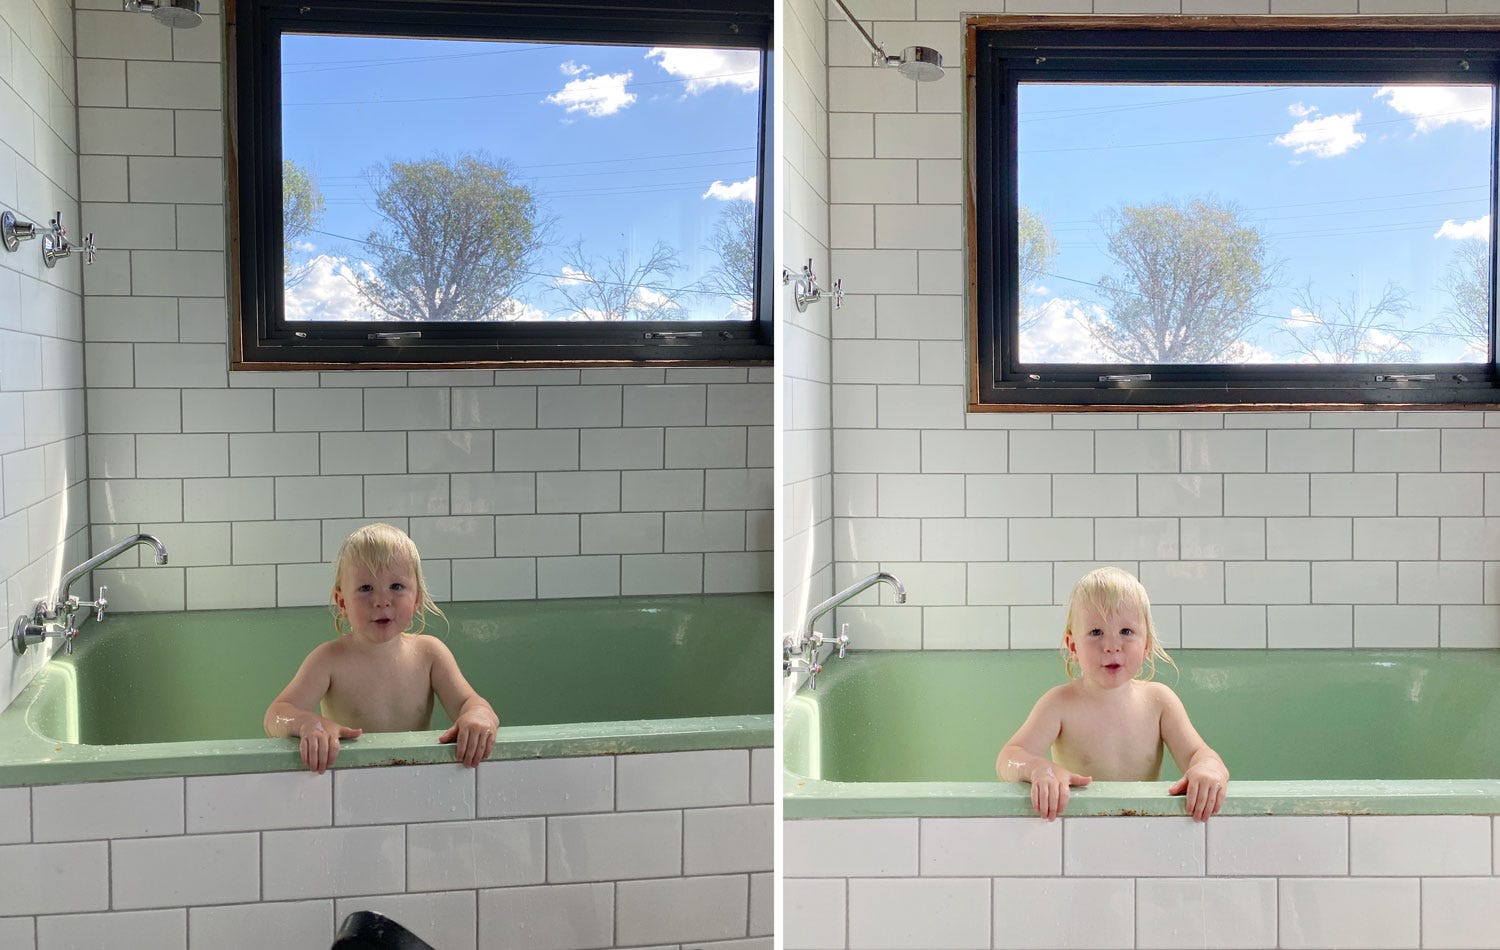
Lighting - natural light is best. Find a window with indirect light. I find this is the simplest option for single portraits, and it’s easy to add a reflector on one side to soften the shadows and make your skin smoother and more even. See the image below, one window has a soft and natural look.
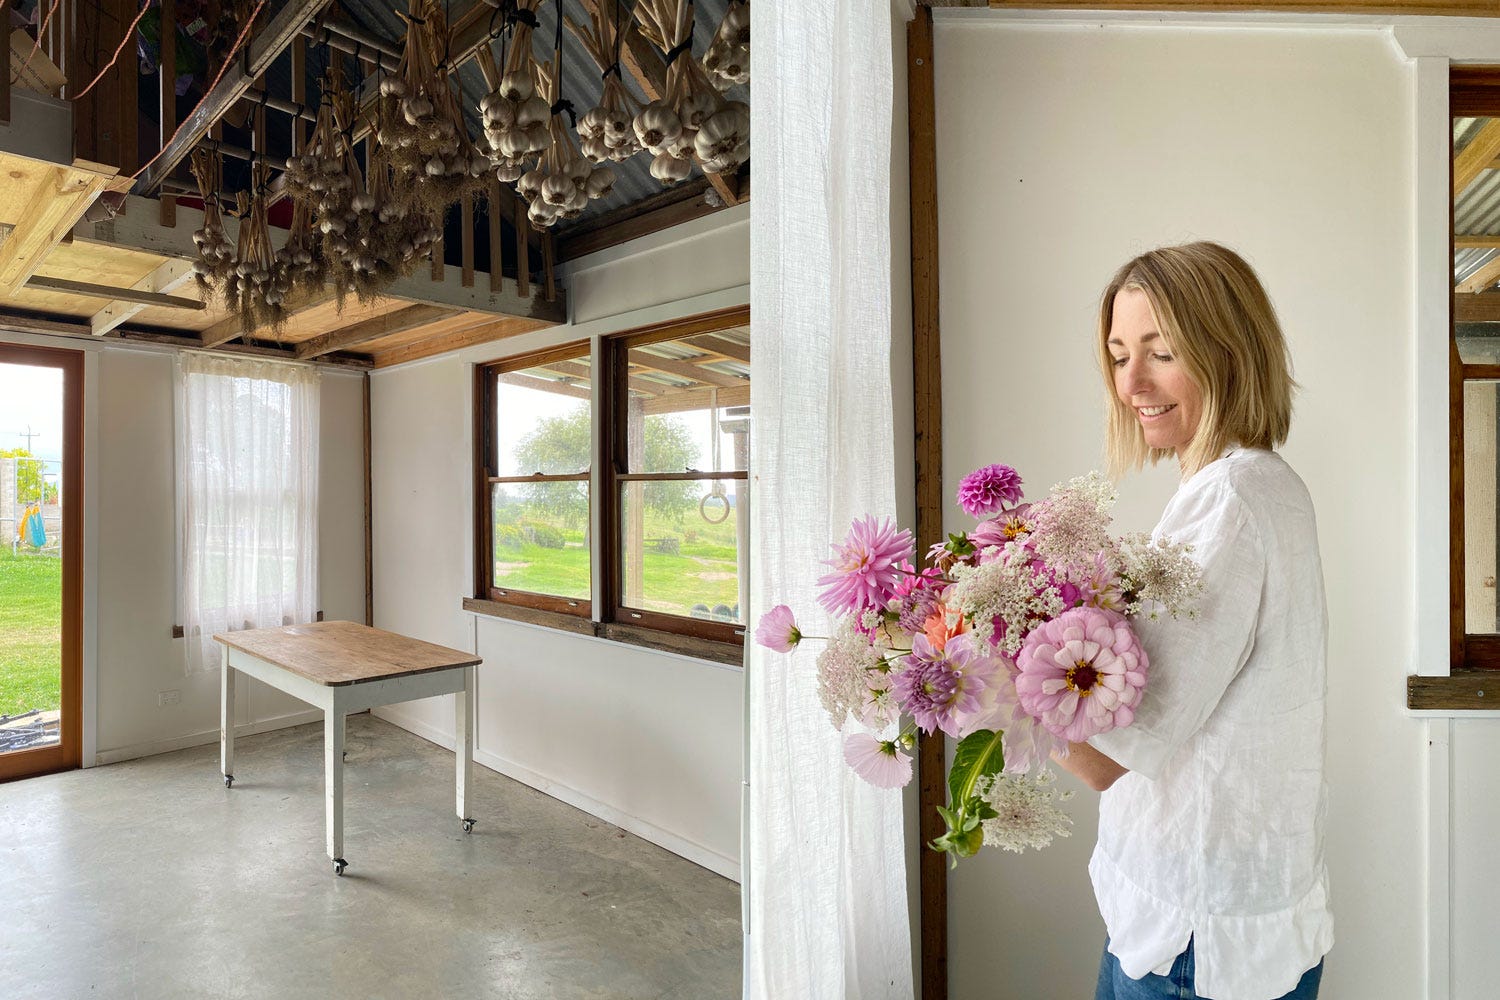
Background + scene - choosing a plain wall is the easiest option. You can always add a few elements into the frame to tell more of your story - like holding a stack of your fav books or your fav coffee cup, etc. See photo above, simple background, one element (flowers)
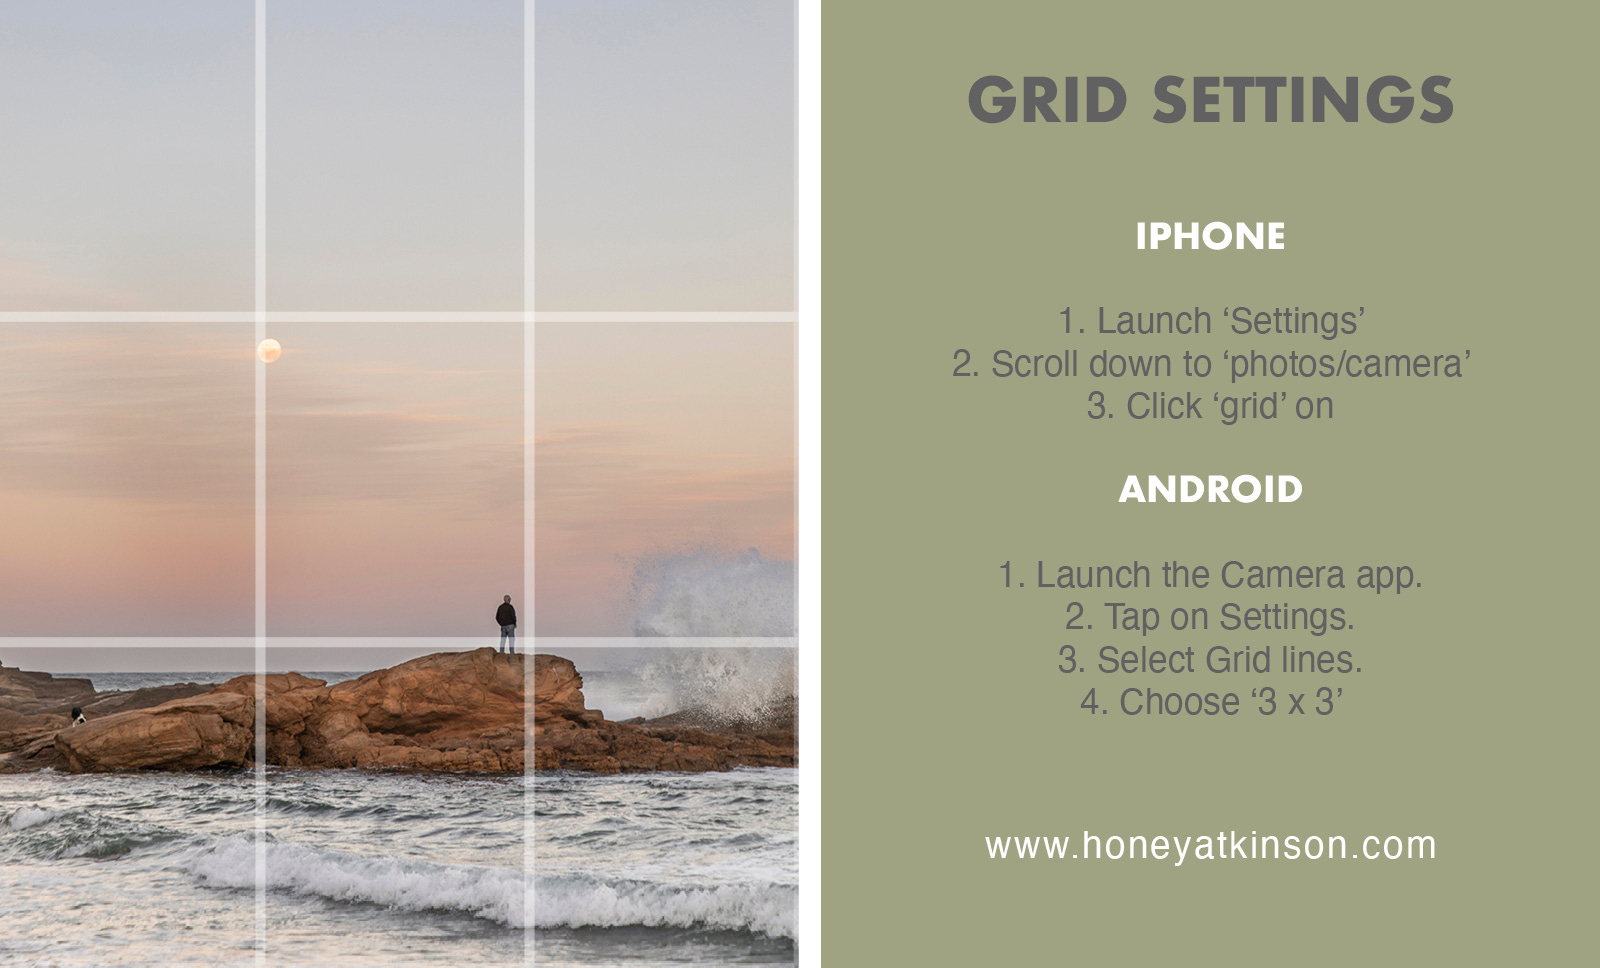
Rule of thirds + Composition - turn on ‘grid lines’ on your phone camera to help compose your images better. You only have to do this once it’s always there (how-to in the image below). These lines help keep your photo straight and frame your images more thoughtfully. The idea is to have points of ‘interest’ near these intersecting lines and to break up your photo into 1/2 water + 2/3 (sky) like the photo below.

Using ‘grid lines’ is helpful to compose images better, using the ‘rule of thirds’ Use your front-facing camera - it’s much easier to use the ‘phone facing’ camera (common selfie option) because you can see yourself, but the ‘front-facing’ camera offers a much better quality image, which means you have more latitude when editing the image later.
Gear - A few gear options that can really help when taking self-portraits are:
Tripod + Holders - I’ve often used my bag or bottle to prop my phone against (like the photo below), or you buy a tripod like this. Plus, you’ll need something to hold your phone to the tripod like this, (this one is magnetic) or a cheaper version like this (which you clamp)
Bluetooth remotes are cheap and handy for quickly taking a range of shots. Or set the camera, turn on the self-timer and move quickly into the scene. A camera remote like this.
Reflector: you can use a sheet of cardboard or buy something that folds up like this. This helps to soften the shadows when only using one window for lighting.
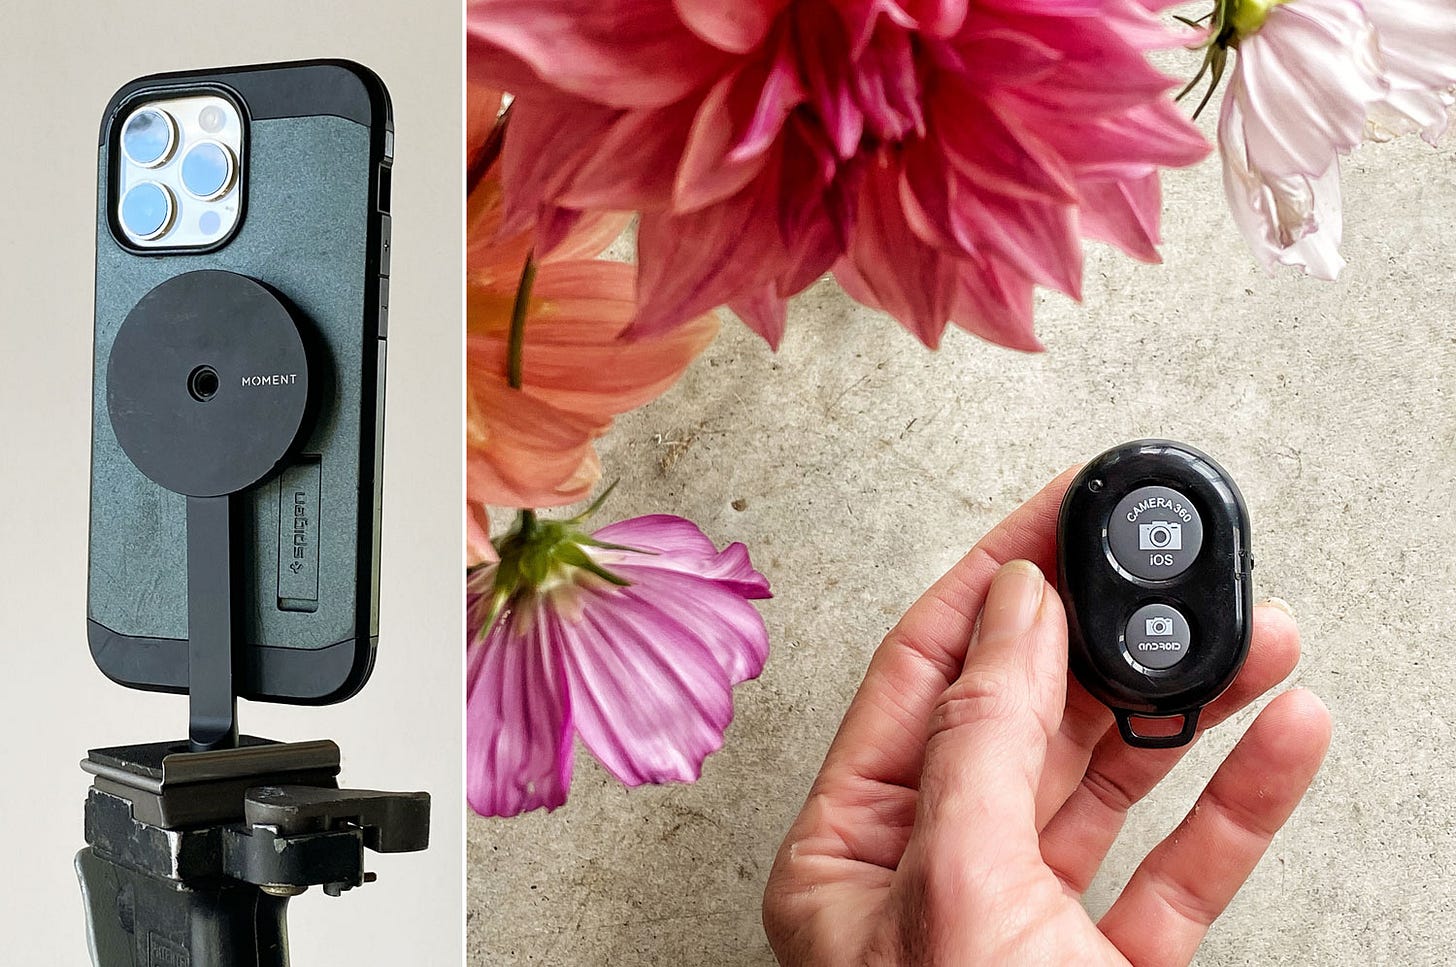
Left: Magnetic phone holder for tripod + Right: Bluetooth remote for phone photography.

The Shoot:
Setting up - Once you’ve found your window light scene, setup the phone camera in a position the captures the best of the scene and work out where you’re going to stand. This involves standing in the frame and doing some test shots and putting some rough marks in place on where you’ll stand - so you’re not cutting off half your head. You’ll want to give yourself a bit of room around your body so you can move around a bit.
Tips on positioning - it’s more flattering to have your body half onto the camera and it’s also important to have your body positioned more towards the light of the window so you face is lit well. You don’t have to look at the camera, facing out towards the light equally as beautiful.
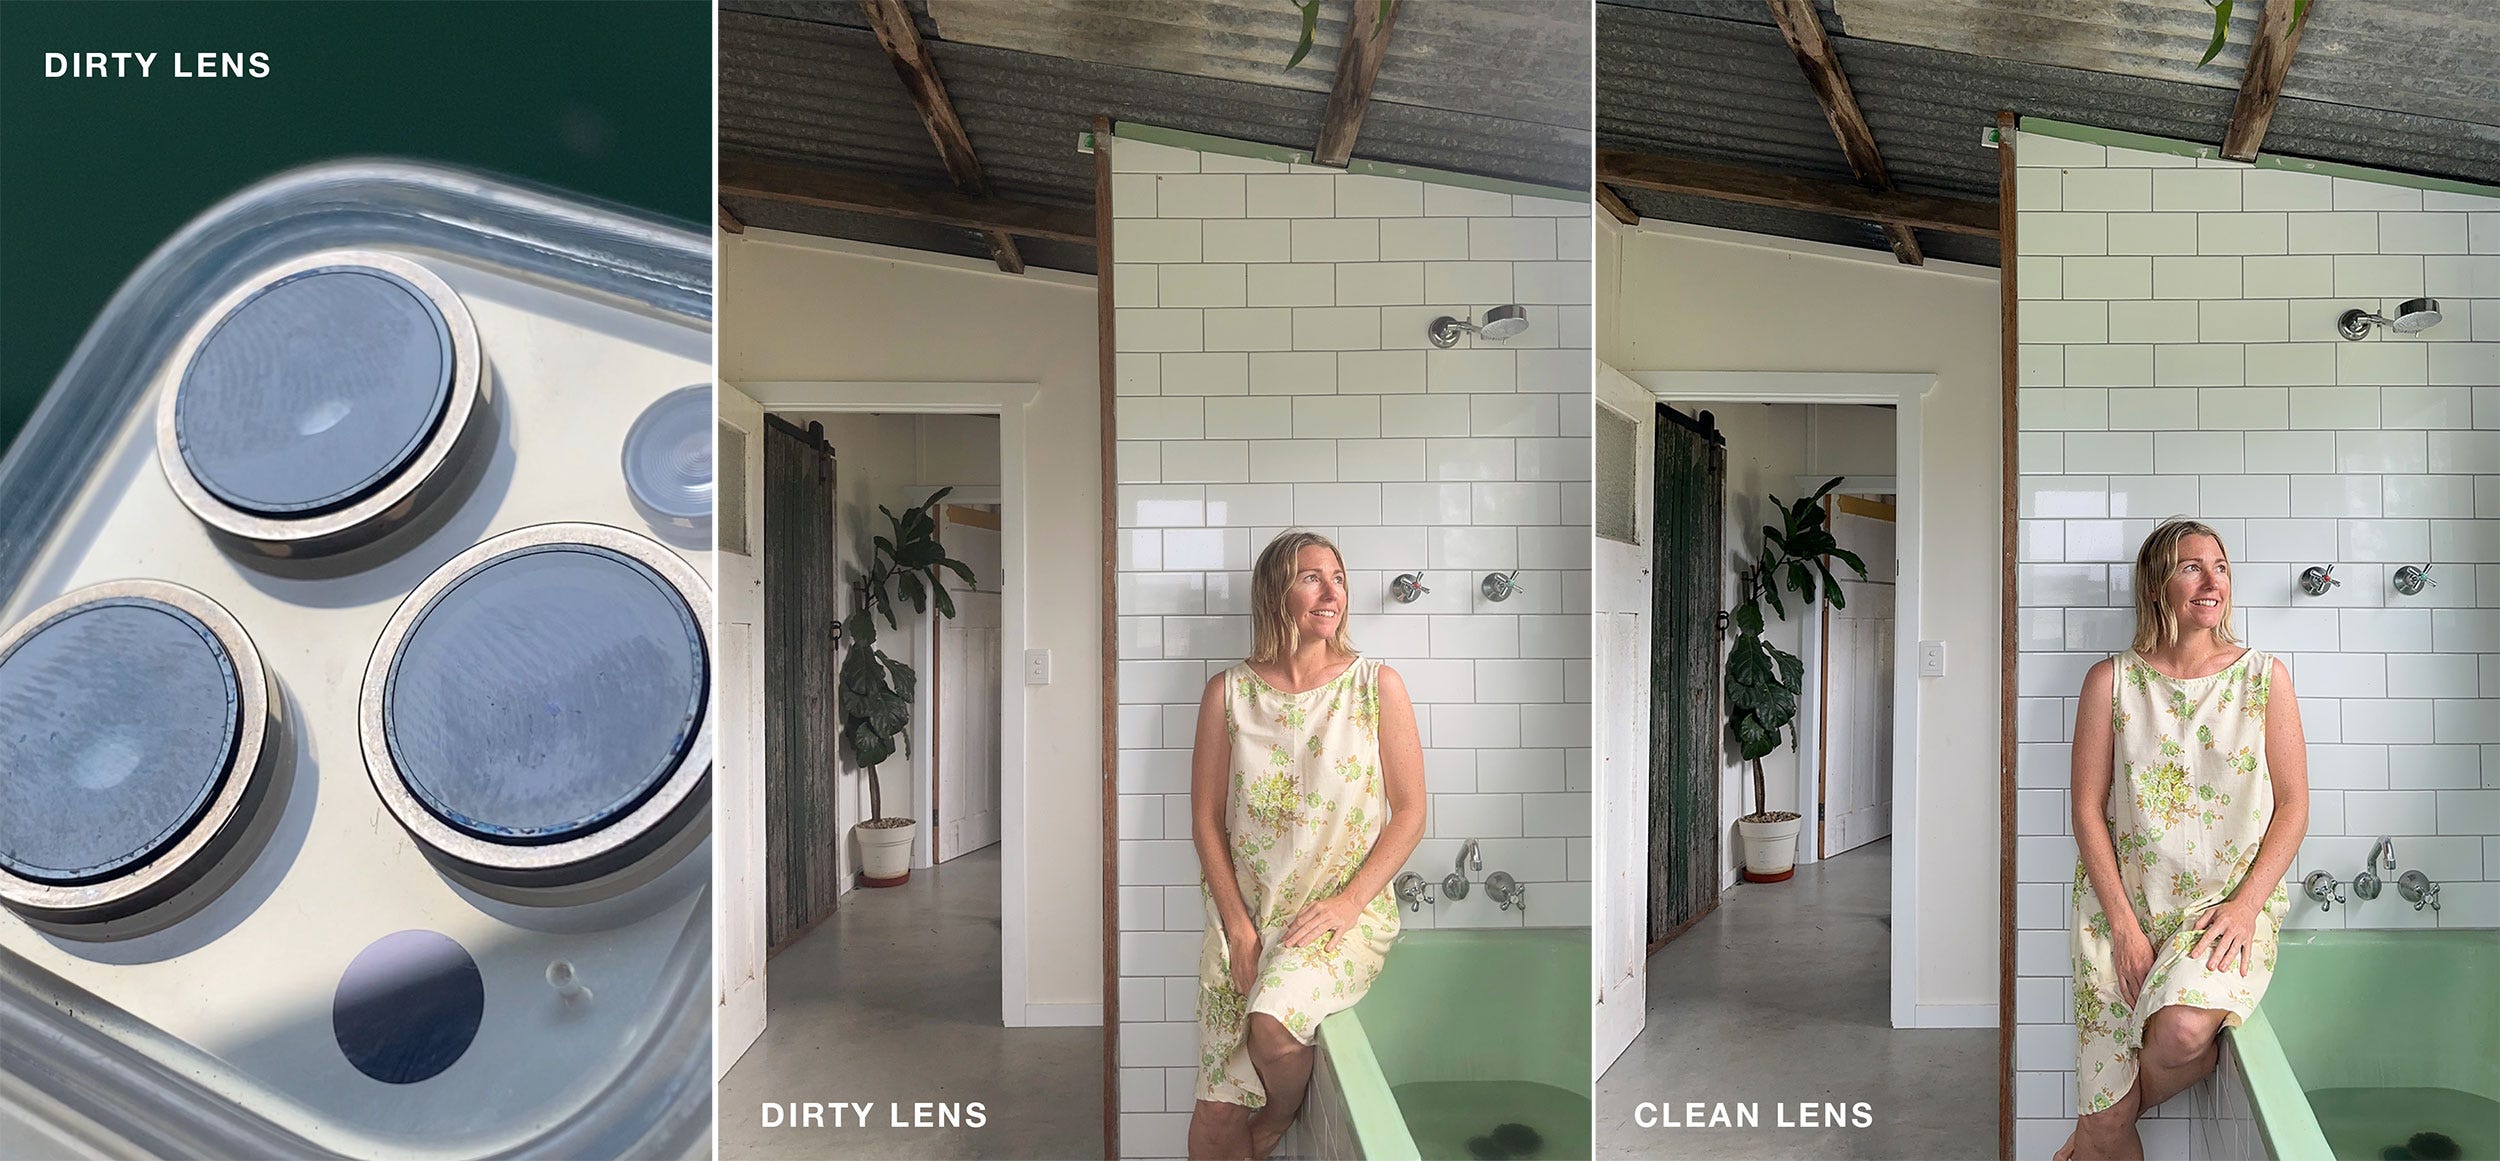
Clean your lens: You’re about to start shooting; clean your phone camera lens; most people’s lenses are constantly dirty. I wipe mine so often now, it’s like a tick/obsession. The quality of your images has just gone up another notch.
Getting past the cringe - Taking your own photo can be more challenging than having someone else do it because you’ve got nobody to bounce energy off when you’re feeling nervous. Things I do to help:
Put music on
Talk to yourself out loud
Move your body a little each way (small movements)
Change the position of my hands and eyes
Hold something - so your hands don’t feel awkward
BREATH!
Laugh at yourself, a fake laugh often creates a real laugh
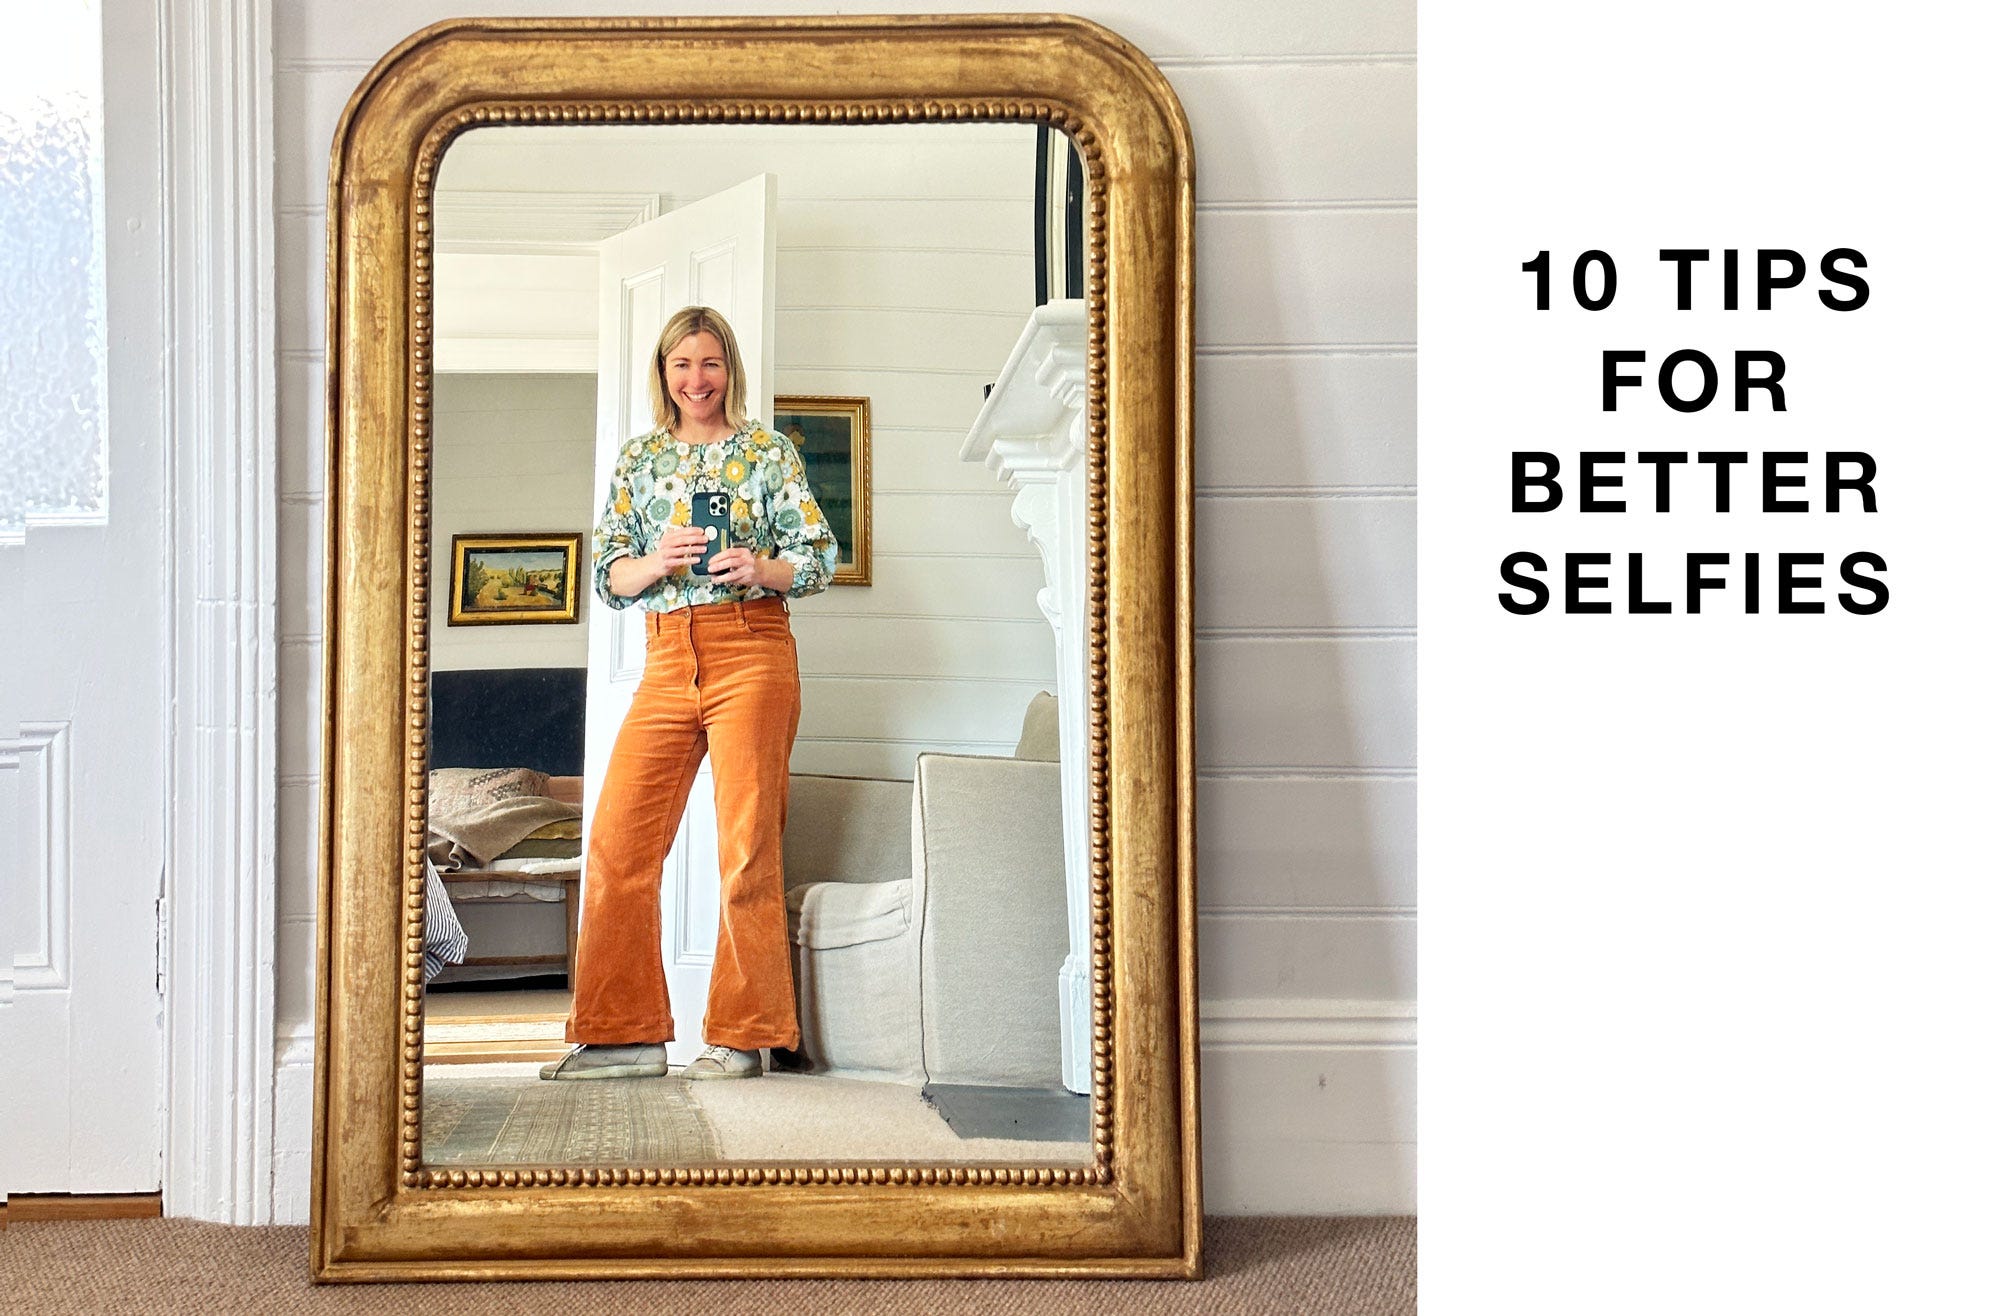
Try shooting into a mirror that is part of an interesting scene
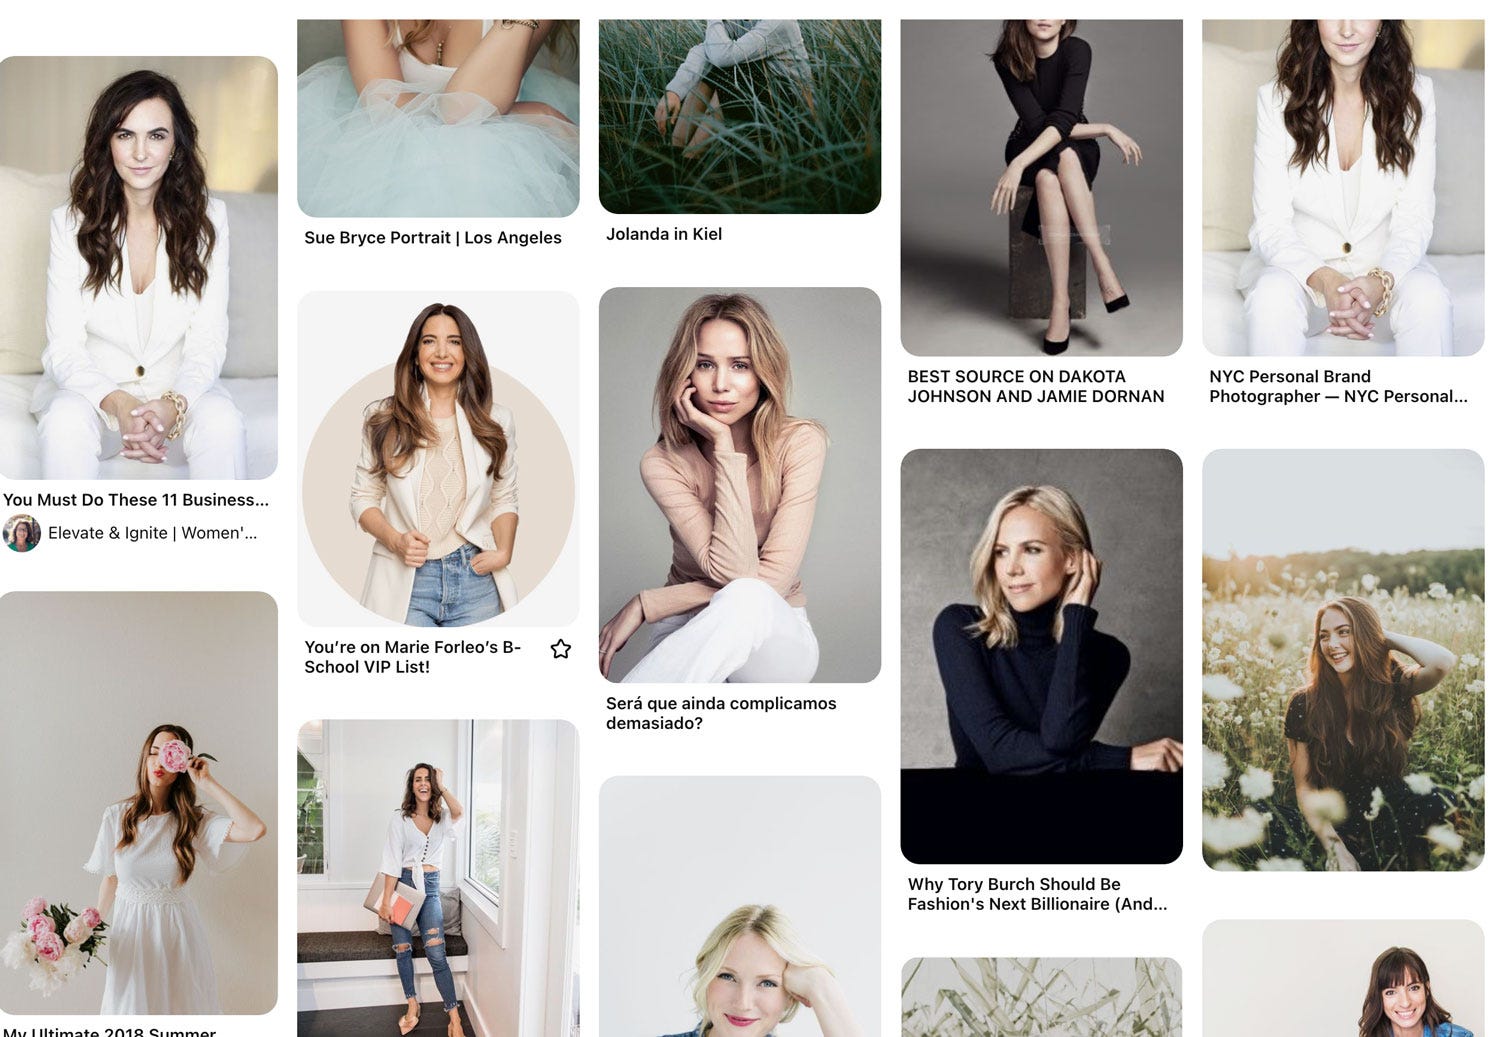
Have some poses printed from a Pinterest board to help when you’re feeling stuck. Start a board like this.
Stop, check you’re still in the frame and shoot some more.
Take more than you think you’ll need.
I have the Bluetooth remote hidden in my hand and take a photo each time I move positions.

Example of a Pinterest board can you use for posing ideas
Final stage:
Edit + Enhance - Almost all my phone photos are edited, not much, but enough to make them feel ‘polished’. There are many apps to choose from; my fav is Snapseed, it’s free and can be used on iPhone or Android. I use the same combo of tools on a regular:
Brightness - I often lighten my images a little as my style is light using ‘Brightness’ or ‘Curves’ tools.
‘Contrast'' - I add contrast and a little sharpness using ‘Structure’ or ‘Contrast’ tools.
‘Warmth’ - I like my images to be warm so I add a little yellow (opposite to blue) with the ‘warmth’ tool.
‘Crop and perspective’
I’m not a big fan of filters; I aim for the photo to look as close to how I saw it as possible, maybe 10% better.
Wrap-up:
Yes, this seems like a lot of steps - but once you find a window in your house/office that has okay light, you can use this scene again and again. It’s about doing the hard work once and then creating a formula.
If you’re constantly changing scenes all the time it means you’re having to learn about how that scene works - get to know that one window like the back of your hand, and you’ll have a go-to place to shoot yourself, your family, your favourite flowers, products, service, etc.
Happy Shooting! Any questions, please ask :))
Honey x